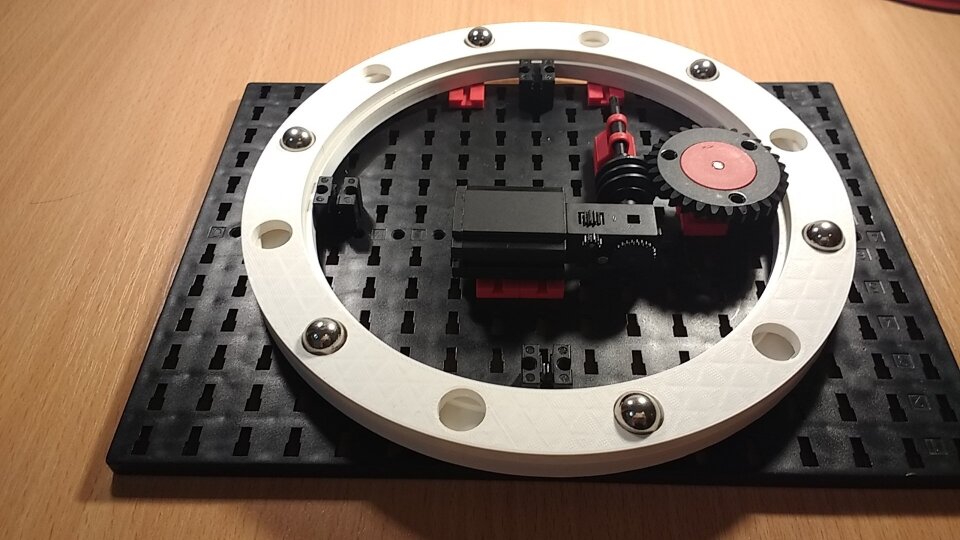
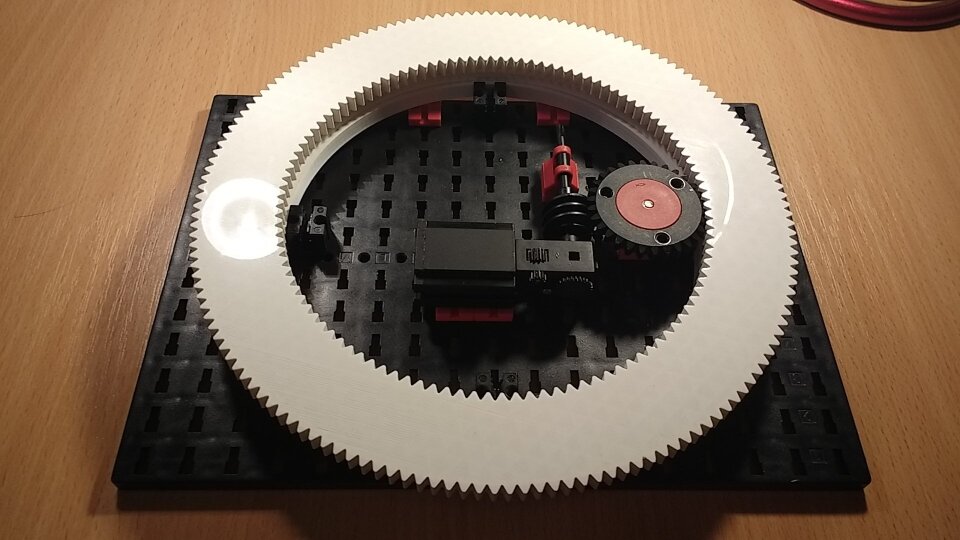
3D printed Fischertechnik turntable with instructions!
I was annoyed by my previous turntable, it was very shaky in certain orientations despite all the stabilizers I had added. It had so much tension and friction that I needed a big motor to even spin it at all.
Then I found out that you can make a turntable with a ball bearing, and decided to make one!
I designed it to have a Fischertechnik-compatible gear.
In the recording here you can see a 4kg laptop spinning on this turntable (I used 6 balls for this).
I wanted to share these models, as well as instructions for this neat Fischertechnik design because I'm quite proud of it!
Step 1:
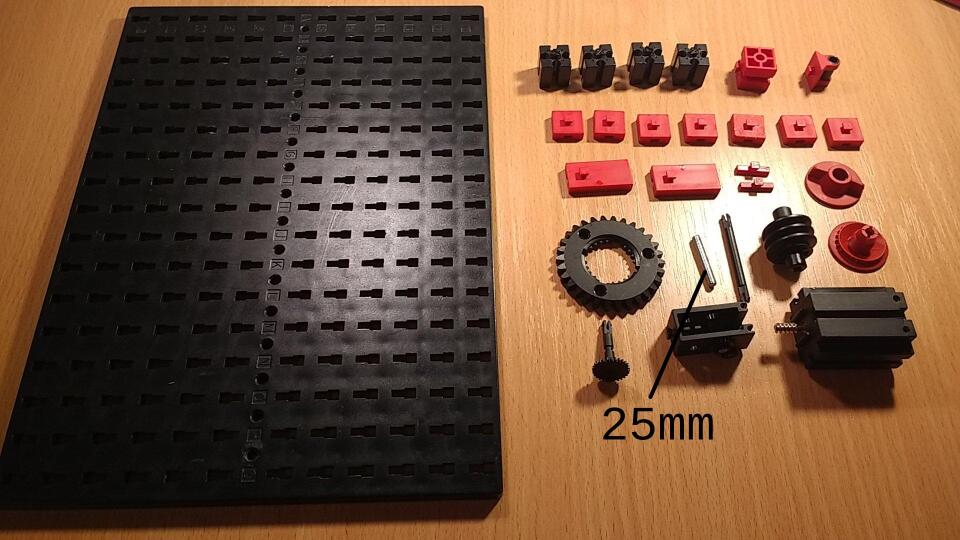
Besides the 3D printed parts, you need these 25 Fischertechnik pieces and a 25mm rod. You can cut a Fischertechnik rod to this length, or use something else!
Note: you also need some 13mm marbles.
Step 2:
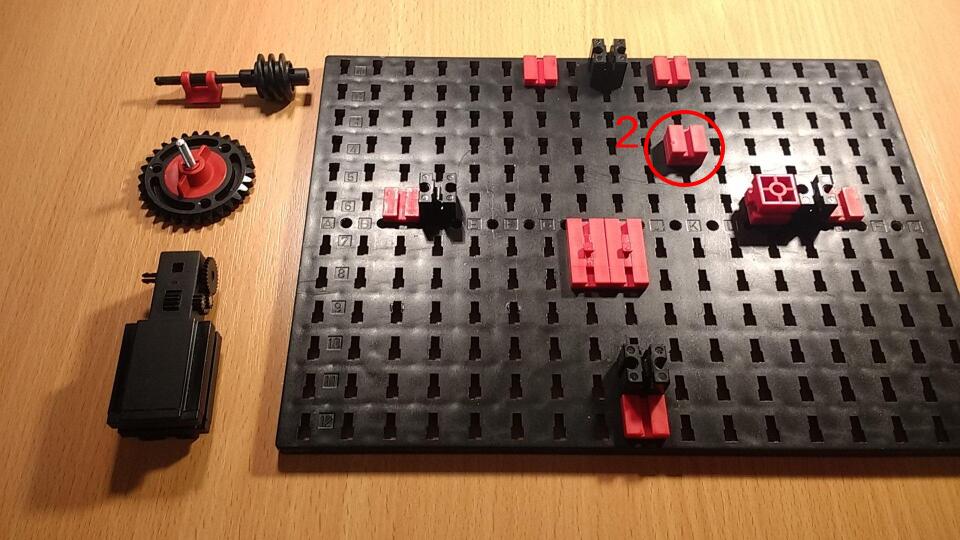
Assemble pieces on the base plate as shown. The labels on the plate can help you align everything correctly. Also note the 3 partial assemblies next to the plate.
Step 3:
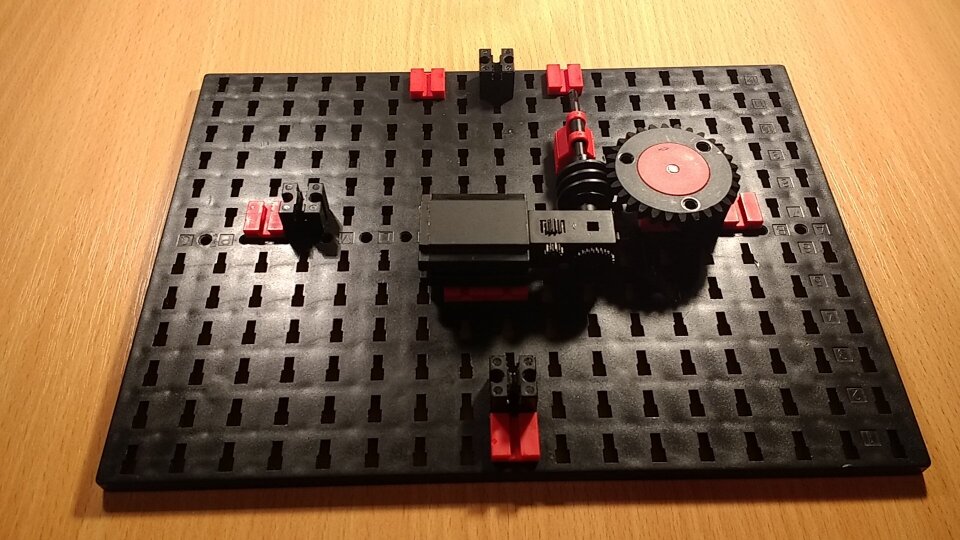
Assemble the mechanism as shown. We are using the 30 tooth gear to transfer movement from the motor to the turntable. This was the simplest solution I was able to come up with.
Step 4:
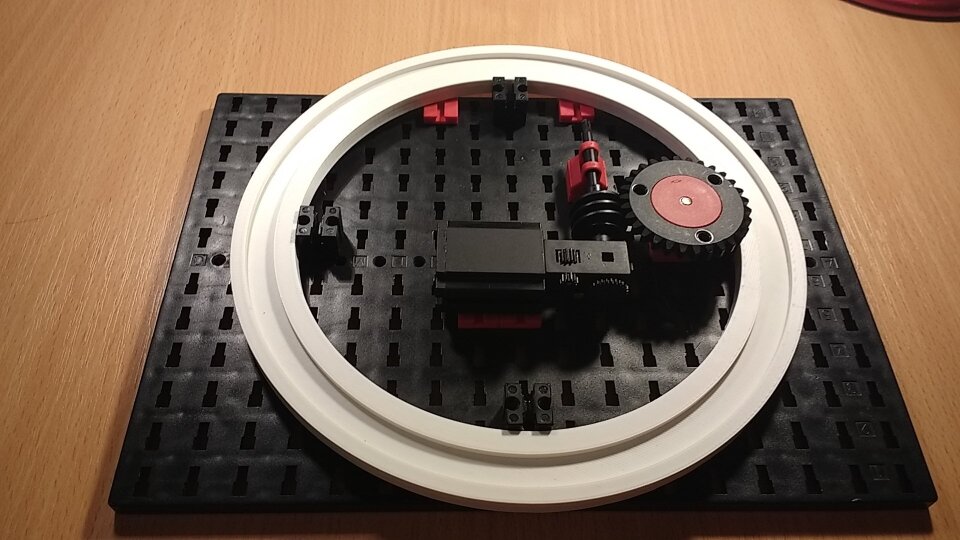
Fit the first 3D printed part on the assembly. There is a gap underneath so you'll be able to run a wire to the motor.
Note for printing: use at least 20% infill so this doesn't flex under pressure.
Step 5:
Place the 3D printed marble spacer and add the desired number of marbles: 3, 4, 6 or 12. You should space the marbles evenly. If you want to eliminate all potential shaking, use 3 marbles. As we all know, a table with 3 legs is stable by default.
Step 6:
Place the geared 3D printed part on top.
Note: this one should be printed with lots of infill as well, because it is important that it does not bend.
The design is complete! You can put anything flat on top of this turntable, for example a wooden panel with items on it! I will be using mine to make visualizations like this; so from now on, no more shaking!
